By PURPLELEC | 27 May 2023 | 0 Comments
How to install the built-in capture card for PC
The video capture card needs to be used together with the computer, so if you want to use the video capture card in your hand, you need to prepare a computer first. Video capture cards are divided into built-in capture cards and external capture cards. They are connected to computers in different ways, so the types of computers required are also different.
Built-in capture card: It is connected to the computer through the PCI or PCI-E slot on the computer motherboard to transmit video signals, so it needs to be inserted into the PCI or PCI-E slot on the computer motherboard to work. Therefore, only desktop computers can use the built-in capture card.
External capture card: It is connected to the USB port on the computer through the USB port to transmit video signals, so the computer used only needs to have a USB port. For this purpose, only desktop computers and laptops with USB ports are fine.

How to use the built-in video capture card:
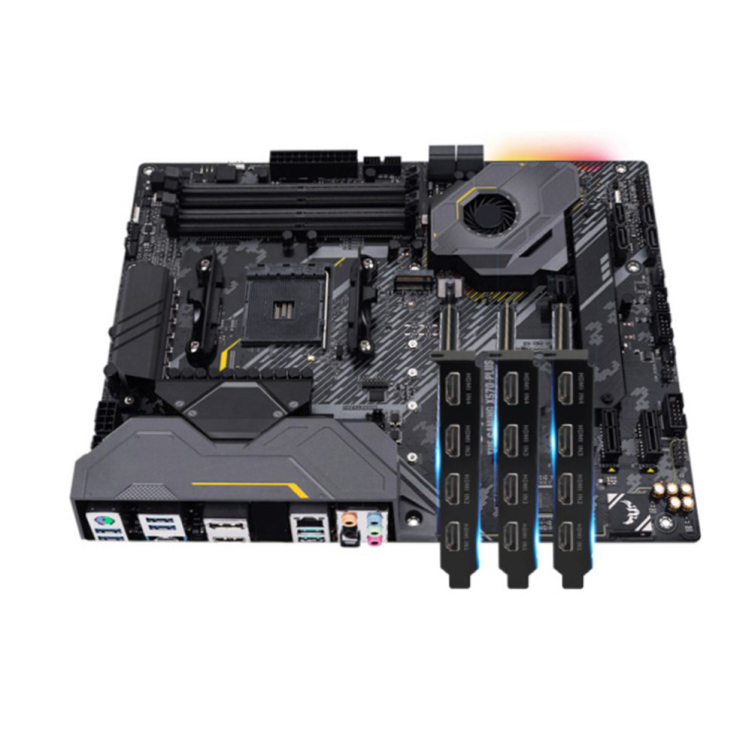
1. Turn off the power card
Turn off the power of the computer, open the case, and install the video capture card in an empty PCI or PCI-E slot. The PCI acquisition card should be installed in the PCI slot, and the PCI-E acquisition card should be installed in the PCI-E slot. Remember to turn off the power before installing.
2. Fixed acquisition card
Take out the accessories used to fix the capture card from the video capture card box, and fix the video capture card on the chassis. Because if the video capture card in the chassis is loose during use, it will lead to poor signal reception, which will directly affect the final signal capture effect.
Therefore, the same 3D video capture card is specially equipped with a small baffle, which is used to fix the video capture card in the computer case
3. Connect the signal source
Connect the video signal source, such as camera, camcorder, video recorder and other equipment to the video capture card through the corresponding signal line.
4. Load the drive disk
Put the driver disk of the video capture card into the CD-ROM drive, and the instruction manual will explain which CD-ROM is the driver disk. There will also be "driver" displayed in Chinese on the CD, or the words "driver" or "install" written in English.
5. Select the corresponding driver
Select the video capture card driver of the relevant model. There are pages in the CD that comes with the product, which generally contain the drivers for a series of products of the company, so you must choose the capture card driver of the same model.
6. Install the driver
Select "Install Driver", "Install SDK Development Kit", and "Install Application Client Server" in sequence. Start the computer system and display new hardware found, insert the capture card driver CD into the CD-ROM drive, select "Automatically install the driver", select "Select a location", and install the corresponding operating system where the driver folder CD-ROM is located.
7. Restart to complete the installation
Restart the computer, complete the installation of the capture card, and start working with the built-in video capture card.
5 solutions to HDMI capture card not displaying images
Why you need a video capture card for live streaming
Leave a Reply
Your email address will not be published.Required fields are marked. *