In daily office work or entertainment, using dual monitors can significantly enhance efficiency and experience. Whether you want to focus on work on one screen and handle emails on the other, or perform multiple tasks simultaneously, mastering the method of setting up dual monitors for your laptop is of utmost importance. Here are detailed and crucial operation steps.
I. Confirm Whether Your Laptop Supports Dual Monitors
Not all laptops support the dual - monitor function. Some older models may not have this feature on their motherboards. However, most modern laptops do support it. If you have doubts about this, you can follow the steps below to confirm:
Obtain the Motherboard Model: You can find the motherboard model information in the user manual of your laptop or through the control panel. Make sure to enter the model name and number accurately, as this will help you search for relevant information precisely on search engines.
Conduct a Comprehensive Search: Enter the motherboard model on search engines like Google. Carefully check the function section to find the information that exactly matches your device and confirm whether it supports multi - monitor or dual - monitor functions. If it doesn't, you may need to use another computer for practice; if it does, you can proceed with the following operations.
II. Confirm the Video Connection Type of Your Laptop
Understanding the video connection type of your laptop will help you choose the appropriate connection cable. Modern laptops usually come with two or more video connection ports, which may be located on the side or back of the laptop, depending on the model and design. Here are introductions to common video interfaces:
HDMI Interface: This is a small rectangular port with a circular bottom inside. Some laptops use regular HDMI ports, while others use Mini or Micro HDMI interfaces, which have the same shape but are smaller in size. If you want to connect an HP laptop to a monitor using HDMI, choosing the right cable is crucial.
VGA Interface: This interface is relatively outdated, and most modern laptops no longer have it. It is usually a blue rectangular interface with about 15 holes that connect to the pins on a VGA cable.
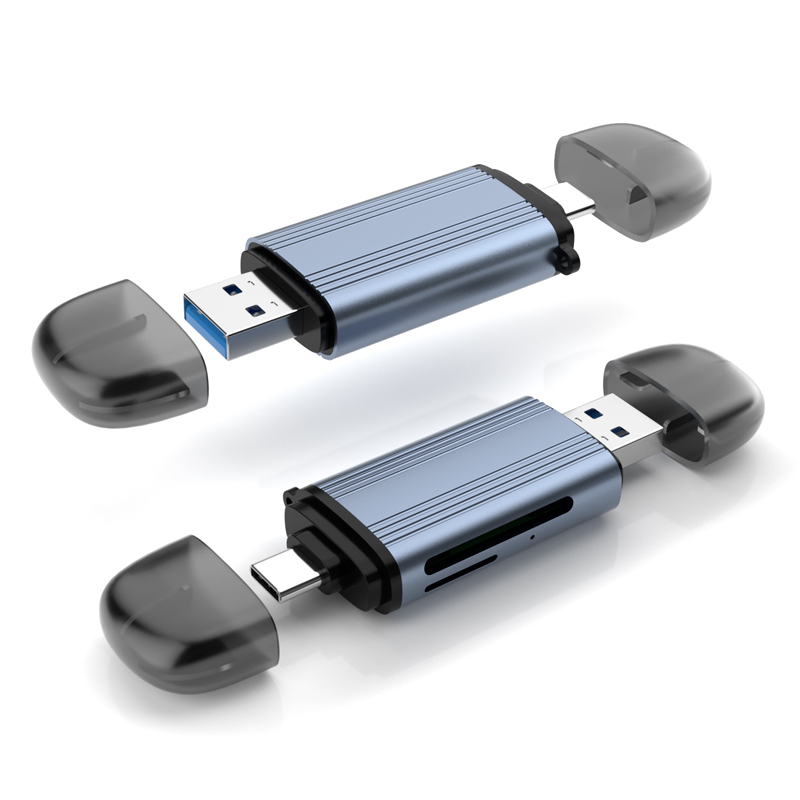
USB - C/Thunderbolt 3 Interface: These two interfaces are relatively common on modern laptops and are easy to connect. The USB - C is a small, pill - shaped connection point that can be connected to another device with a similar port; the Thunderbolt 3 has a similar shape but features a lightning bolt logo. When used with a USB - to - HDMI adapter, they can support high - resolution video display connections.
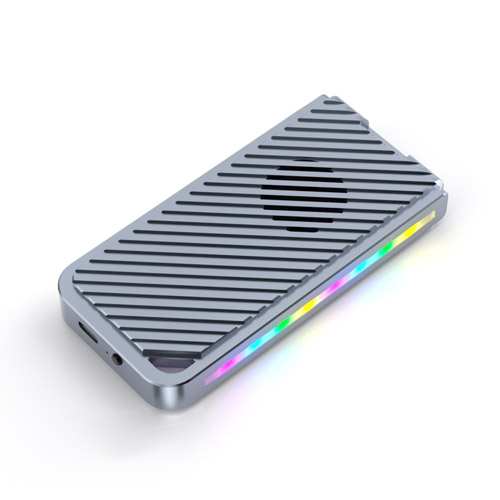
In addition, some small tools like USB - C octopus hubs can greatly simplify the connection process. These hubs are equipped with multiple ports, helping you easily set up dual monitors on your laptop. They offer greater flexibility, better connectivity, and can also connect standard USB accessories and power inputs.
III. Select the Extended or Duplicated Display Mode
After ensuring that the hardware connections are correct, the next step is to focus on the connection settings in the Windows system. This part is very simple and only requires a few clicks on the computer.
Windows 8 and Later Versions: Press the WIN + P buttons, and options such as "Extend" or "Duplicate" will appear on the right side of the screen. You can choose according to your actual needs:
Extended Function: This function allows you to extend icons across the two screens, providing you with a larger operating interface and facilitating multi - task work.
Duplicated Function: This function provides you with an independent second screen, similar to the effect of a projector, enabling the synchronous display of screen content.
Windows 7 System: Right - click on the screen, select the "Screen Resolution" option, and then click "Extend" to display various dual - screen display options.
IV. Adjust the Screen Position
After completing the projection settings, you need to fine - tune the screen positions. Usually, the laptop screen is set to the left by default, and the external monitor is on the right. To achieve smooth navigation, you may need to move the cursor to the right.
For the Windows 7 operating system, the specific operations are as follows: Right - click on the desktop, select "Screen Resolution", and in the pop - up dialog box, drag the screen icons according to their order in the workspace. If you are confused about the screen arrangement, you can click the "Identify" button. The system will display the number of each screen to help you arrange them correctly.
V. Fine - Tune the Display Quality
The display quality is closely related to the video connection options used. When using certain ports to connect two monitors, you may not be able to achieve the highest resolution. Therefore, you need to choose the best connection method or cable to obtain a clearer display effect. Using multi - adapter devices like USB - C octopus hubs can ensure you get the best connection quality.
Nowadays, you don't need to rely on multiple computers. By simply mastering the method of setting up dual monitors for your laptop, you can easily expand the display interface and make your work more enjoyable and efficient. After understanding the cables for connecting your laptop and monitors, follow the guidance in this article. With just a few clicks, you can display the laptop icons on multiple screens and start a new experience of efficient multi - screen work!